One of the benefits of archiving your historical data with Company Data Archive is removing large amounts of data from your production database. Utilizing Linked Server allows you to move that data to a completely different server, freeing up precious disk space on your production SQL server.
The first step is to install a separate SQL instance on the destination (archive) server. Once complete, a copy of the DYNAMICS database will need to reside on this server to allow you to log into the archive database. You can create the archive database utilizing GP Utilities on the destination server once the DYNAMICS database resides on the server, and after configuring a new ODBC connection pointing to the destination server.
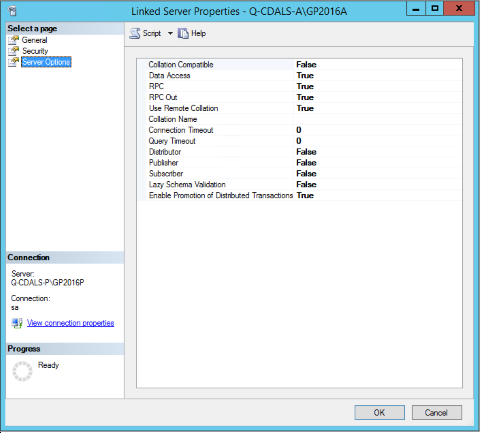
Linking SQL servers has a few requirements. The SQL servers must be on the same SQL version, and the collations sequences must match. See additional Linked Server Archiving documentation or Microsoft SQL Server documentation for this process.Following the successful configuration of Linked Servers, you will also want to ensure some settings are made to allow Linked Server Archiving. Within SQL Server Management Studio, expand Server Objects – Linked Servers. Right click on the current Linked Server configured and select Properties. Select the ‘Server Options’ page, and ensure that ‘RPC’ and ‘RPC Out’ are set to True:
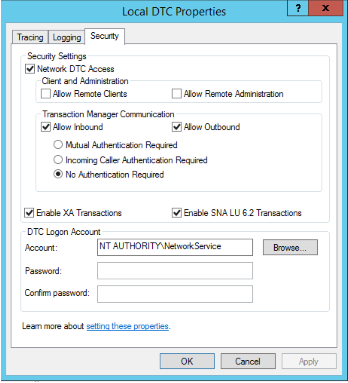
You will also want to ensure that ‘Local DTC’ is configured on BOTH the live and archive server. Navigate to Component Services, expand Computers – My Computer – Distributed Transaction Coordinator, and then right click on Local DTC select Properties. Select the Security tab and ensure that ‘Network DTC Access’ is marked along with the items found in the following screenshot:
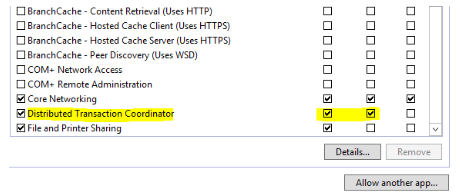
Also, in addition to the configuration above, you need to make sure that the Windows Firewall is set in the Allowed apps and features to allow Distributed Transaction Coordinator for at least Domain if you are in a domain environment. Set the rules here per your particular environment and network setup.

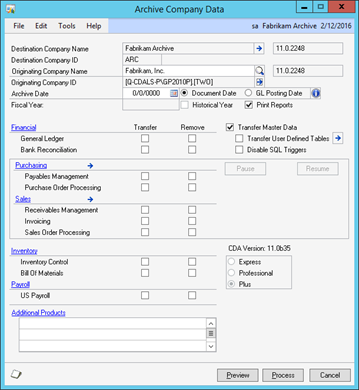
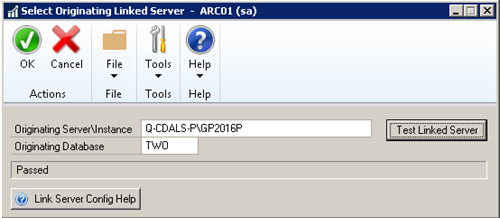
After the user has registered Plus Mode, the SQL servers are linked, and the user selects the Live company from the Originating Company Name lookup, the user is able to select an expansion button on the Archive Company Data window next to the Originating Company ID. In this new window (Select Originating Linked Server), the user is then able to type in the production server and instance which is to be archived. The “Test Linked Server” button can be used to ensure correct Server information has been entered, and that the required DTC and linked server functionality is configured.